


Have you experienced a ready to complete 3D portion printed with Cooksongold? Need to have some recommendations to complete it off?
You are in luck! Today’s 3D printing weblog sequence will be sharing our tutorial on how to finish your important steel piece so it is a perfect substantial high-quality complete.
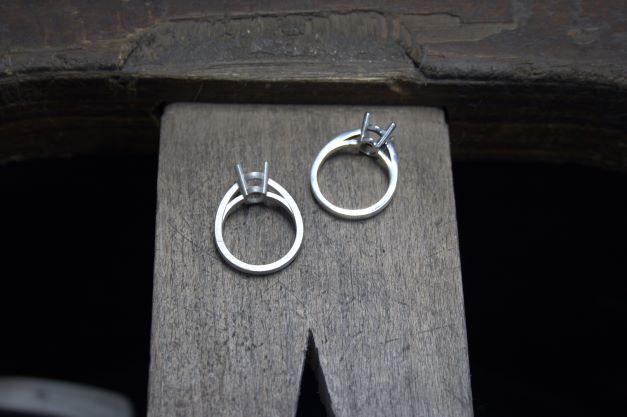
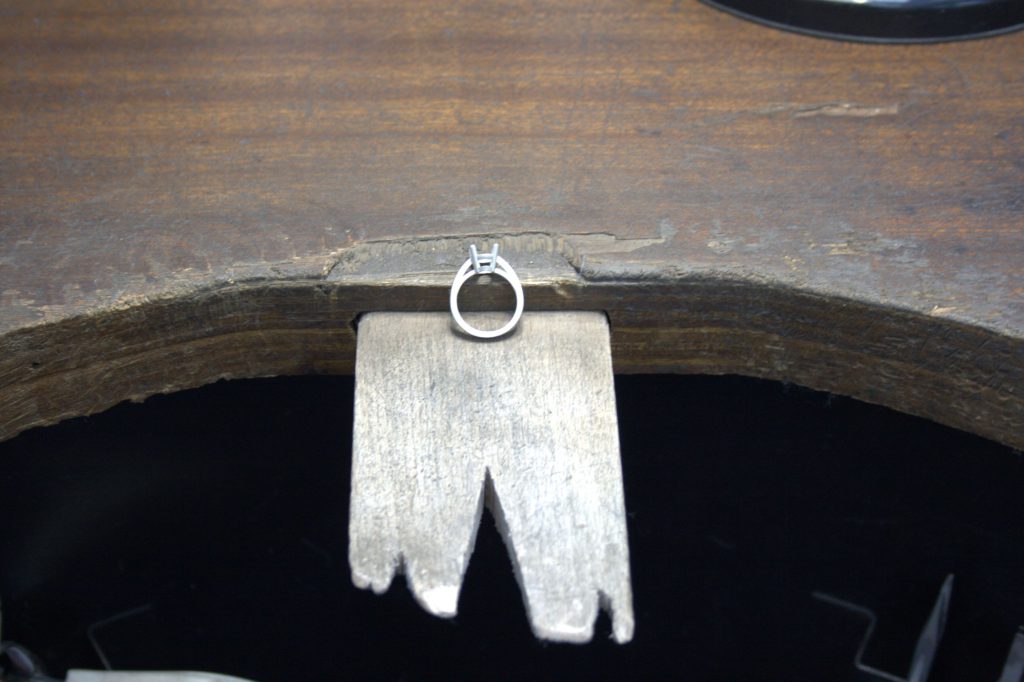
Despruing your piece
When your piece has been printed and shipped to you. It will have a person or a number of small slice pieces of steel attached to it. This is referred to as the sprue.
The sprue is included by our 3D Technicians in CAD so that when the element is printed in wax and extra to the wax tree for casting, the molten metal can feed into the piece.
Eradicating the sprue is quick and will have to be finished in advance of ending your aspect. This can be accomplished by making use of a piercing saw and diligently sawing off your sprues. Then you can file down your sprue applying a steel or needle file.
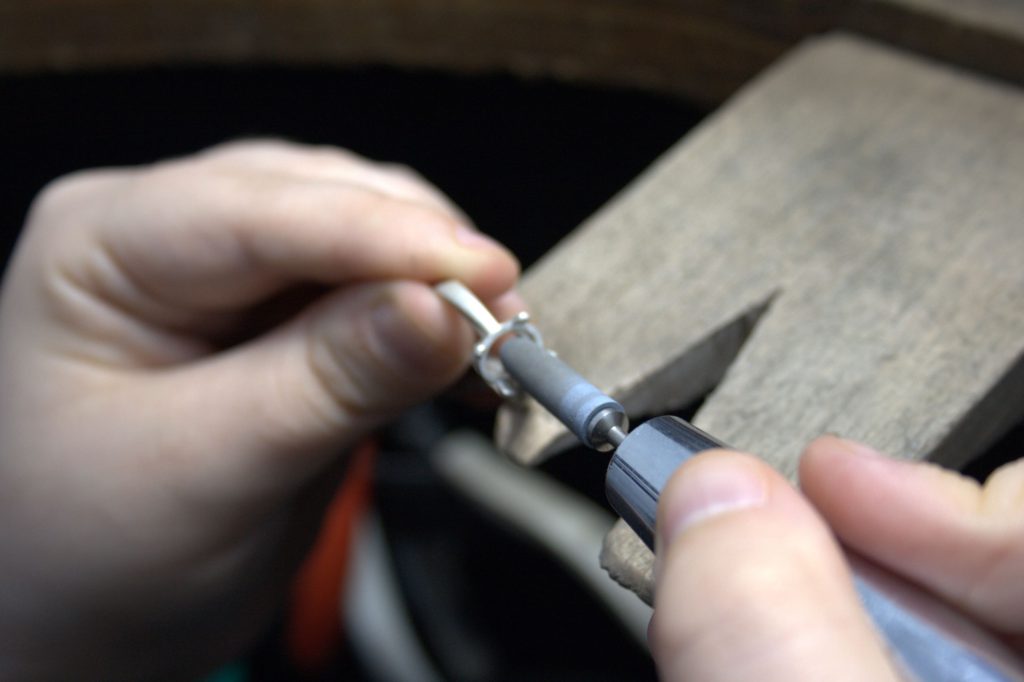
Buffing
Items that are cast will have a fine grain texture to them and can also have fantastic develop lines that the printer has developed when printing every layer but these can be effortlessly buffed away to easy it in excess of working with emery paper/stick.
Sandblasting (If you have a sandblaster if not skip to upcoming action)
The least difficult way to end a piece that has been forged, is to sandblast it. This will create a frosted texture all over the piece, a great deal like the look of the cast piece to begin with but will give it a a lot far more uniform look and will also texture the flat region that has been buffed again immediately after the sprue.
If you want a piece to have mixed polish places, normally do the lessen top quality finish 1st, i.e sandblasting the outside the house of the ring and large sharpening the within of the ring. If there are compact locations which are fiddly, it will be easier to do the increased top quality and then masking those parts off with tape as to not disturb the complete.
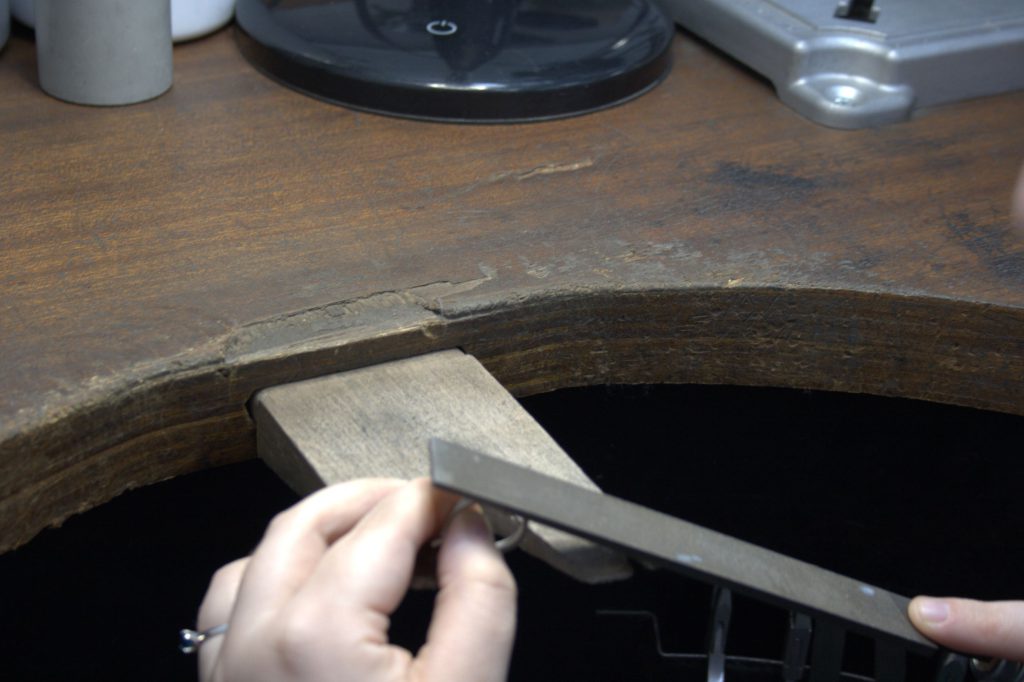
Polishing: Emery paper
For most other styles of sharpening you will will need to go through every single phase of emery paper or stick, commencing from very low to superior.
Hold your piece firmly versus the bench peg and get the job done away from you, following the shape of the item. Always stick to the condition of your piece, as you may buff a flat location onto a curved region if buffing flat. Go around every spot that you are wanting to be buffed, right up until the former end degree has been buffed away. In between just about every quality of paper/adhere, you will want to buff in a way 90 degrees to your previous buff, if possible. This will assistance remove scratches triggered by the emery paper.
Quite a few jewellers find a method that they want to get the job done in, and potentially skip grades of buffing for a increased grade but if this is new to you, we suggest likely via each and every quality from 400-1200 right up until you obtain what operates for you. If you are hunting for a mirror polish, you could want to try likely up to 2000 right before sprucing.
For the insides of rings or flat curved surfaces, there is also a software that can be made use of in a pendant motor. https://www.cooksongold.com/Jewelry-Tools/Sander-Roll-Quality-400-Box-Of-10-On-2.35mm-Mandrel-Medium-Quality-prcode-999-122&query=sandpaper%20roll&channel=united kingdom function bit by bit with these as extended use can lead to a piece to get pretty hot. If you really do not have a pendant motor or have these obtainable a curved emery stick operates just as nicely, but can acquire for a longer time.
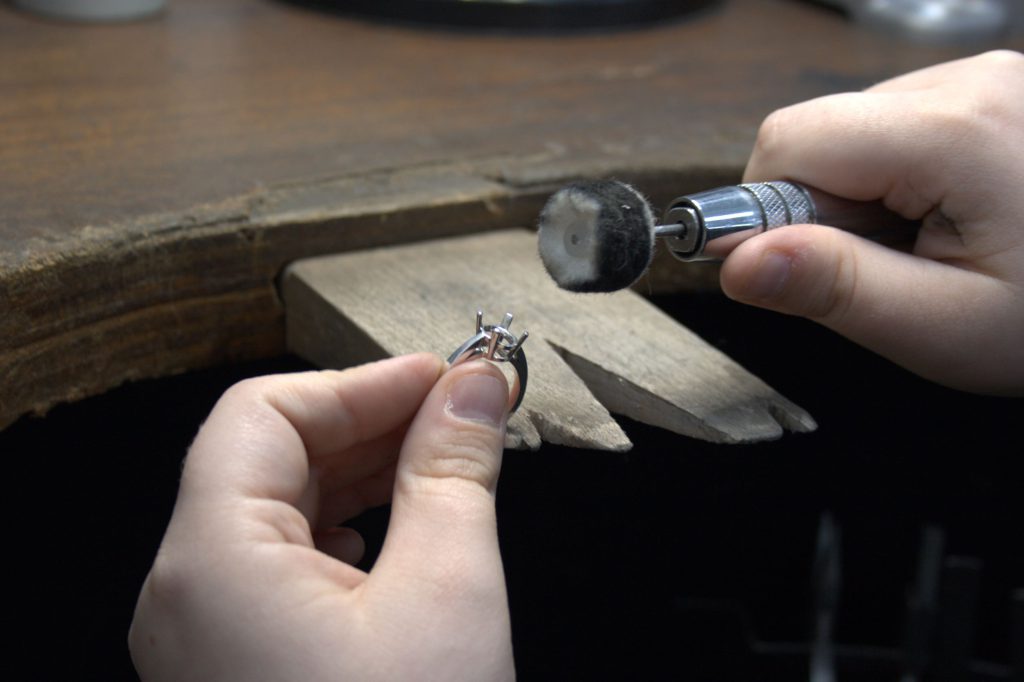
Sprucing Wheel
At the time your piece is completely ready for polishing, you can take it to the sprucing wheel. You will need two forms of polish and two wool wheels.
Label every single wheel for the style of polish utilized to it as you really do not want to contaminate either of them with the other folks polish. Firstly get your wheel spinning and push the rough polish in opposition to the wheel, coating all all around the wheel, and then get started polishing your piece.
When the piece is completely ready for the wonderful polish you will want to wash any tough polish on the portion with warm soapy h2o and then dry. Swap your wheels above and put together the second just one with the fine polish and yet again polish your piece. You can either clean your part all over again with warm soapy water or if you have entry to an ultrasonic, this might help with eradicating any residue.
Dry the piece and it is prepared!
More Stories
Diamond Jewellery Gifts
Meenakari Works – An Ancient Indian Jewellery Tradition
A Fantastic History and Series of Exciting Developments Beckon the Evolution of Jewellery